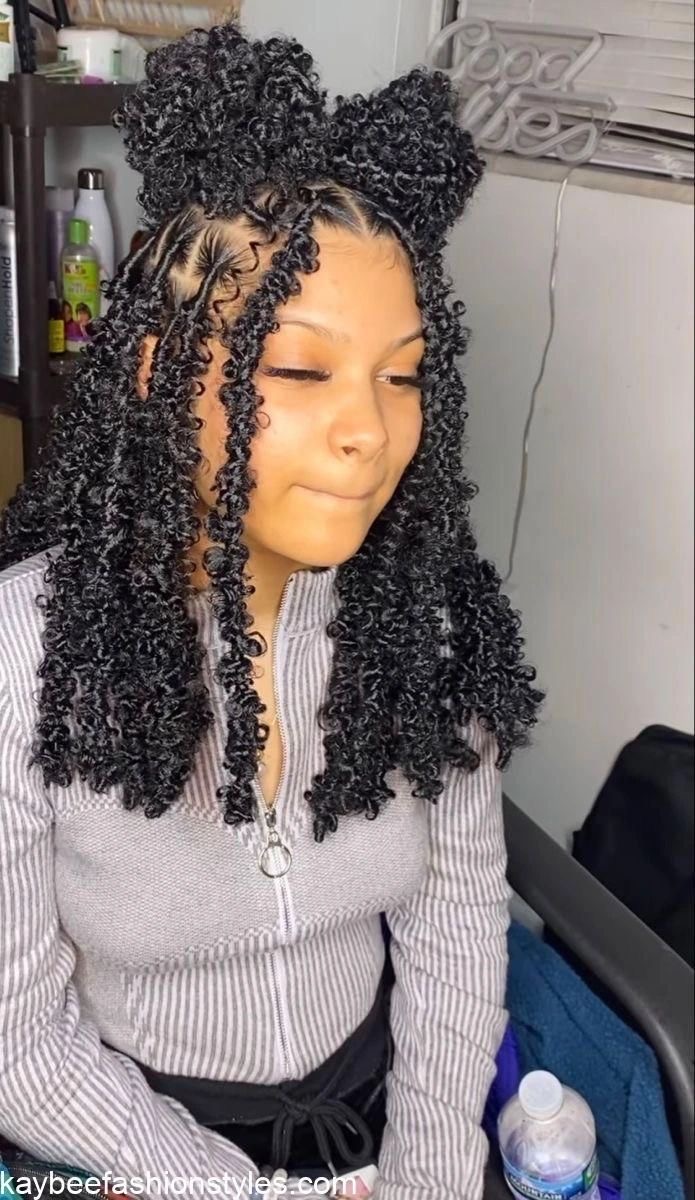
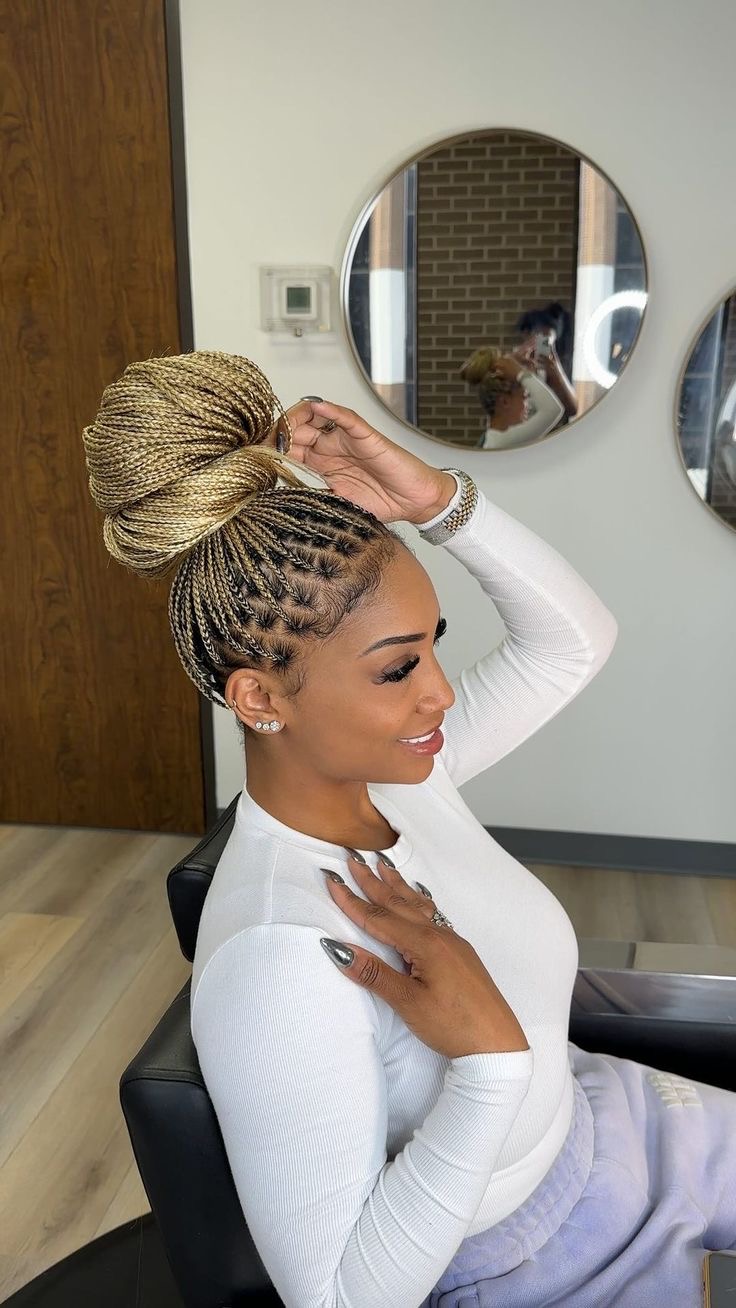
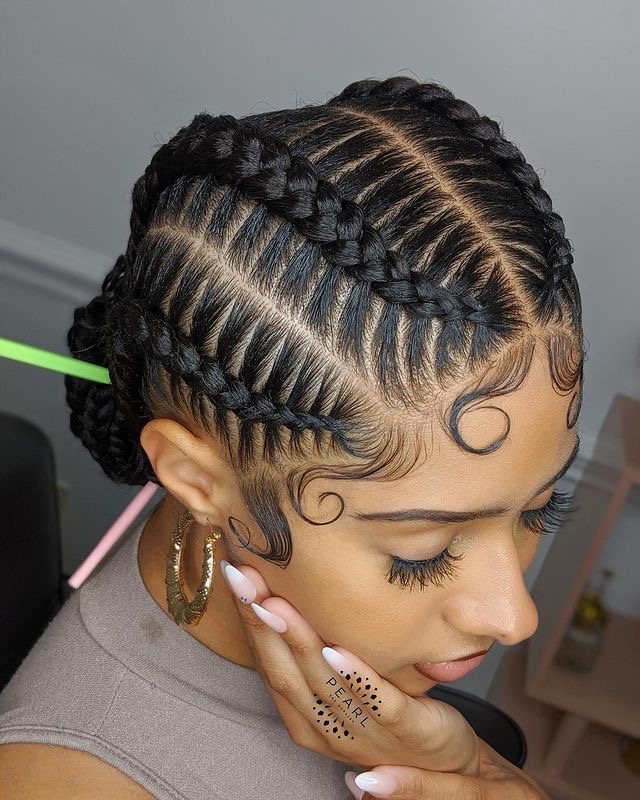
Messy bun is a simple and classic hairstyle that creates that stylish look. As simple and easy as it may seem, it does not mean it does not take any effort. It’s a hairstyle that you can wear anytime you don’t feel like stressing your hair out and still want to look elegant and cute. To have the perfect look and balance of this hairstyle and to neatly put it together, I will be sharing the tips on how to get the hairstyle done in five different steps on different hair textures and hair types.
See also: The Clean Girl Aesthetic
HOW TO GET MESSY BUN DONE
Here is an easy tutorial to help you through the process of doing your messy bun.
STEP 1:
Get two protective hair ties and a dry shampoo. Messy buns are basically cool and are best when the hair is not clean.
STEP 2:
Put your hair together like you are going to do a ponytail, but keep it a little loose at the back, and secure it with a protective hair tie.
STEP 3: TWIST AND WRAP
Now take the end of your ponytail, twist and wrap it around the bun below your hair, and tuck it into the hair tie. Then, just pull it out and stretch it a little. Don’t worry if it gets messy; that’s the point of this post, and we are here to guide you to achieve it.
STEP 4: SECURE IN PLACE
After doing the messy bun, secure it with some bobby pins or an elastic hair band, and make sure you secure it well so it does not hang out. Then, use your hands to pull some of the hair out to give it a more textured, messy look.
See also: Men’s Haircut And Hairstyles in Year 2024/2025
PRO TIP: MESSY BUN WITH DIFFERENT HAIR TEXTURES AND LENGTH
Messy Bun on Short Hair:
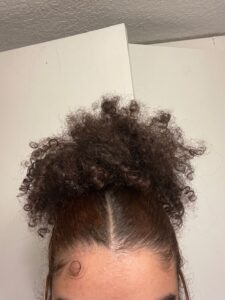
We know those with short hair might wonder, “Will I be able to get that perfect messy bun with my hair length?” The answer is yes! Even though short hair strands may not be the normal length for a messy bun, that doesn’t mean you can’t find a way around it. That’s why we are here to give you tips on how to achieve that slay messy bun hair trend.
TIP 1:
It’s not debatable that the best messy bun comes from dirty hair—I mean, two or three days of hair not washed—but that doesn’t stop you from trying it on freshly washed hair.
The first thing is to grab your dry shampoo and spray it on your hair. To achieve that fluffy, messy hair look, you need a lot of texture, whether your hair is greasy or silky soft.
After applying your dry shampoo, grab your hairspray and be generous with it, spraying it on your hair to give it that texture we need (and keep scrunching it so it gives that messy hair we need).
Now, gather your hair up and put it in the spot on your head where you want the bun to stay, and use your hair tie to hold it down. Because of the length of the hair, it may look a bit messier, but don’t panic—that’s what we want. Now secure it with your bobby pins, and keep doing this until you get the desired shape you want.
See also: Everything You Need To Know About Butterfly Locs
CURLY MESSY BUN
PRO TIP:
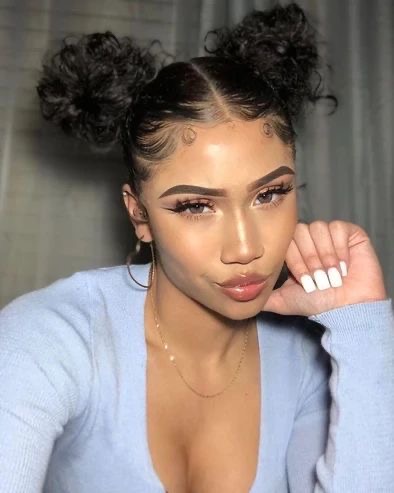
For the curly-haired girlies: As a curly-haired girl, you might feel that before you can have that neat messy bun hairstyle, you need to straighten your curls. (No, you don’t have to!) That’s why I’m here to give you the best tip on how you can make your curls look amazing and achieve the best curly messy bun. Let’s get right into it.
TIP 1:
First, you start with a bit of hairstyle prep. This step is very important because you don’t want to rough your hair in the process. Add a little bit of serum so the hair can have a little bit of slip.
TIP 2:
The next step is using a wide-tooth comb. What this is meant for is to help separate the curls a little because we are going to be pulling and tugging slightly on the hair, and we want it to be as easy as possible.
TIP 3: Four-Section Messy Bun
For this hairstyle, we are going to start by creating a mini messy bun. Part your hair into four sections as seen in the picture here—two at the top and two at the bottom. It doesn’t have to be super neat because we’re actually going to pin these buns together, and what this does is give an effortlessly beautiful look.
Next, we try to perfect it. Get your bobby pins and grip them together. Use as many pins as you feel you need to get that perfect messy look until you’re satisfied. Now go in with a spray just to tame the hair more and to look neater. And that’s your first style of curly, messy bun—you can wear this to a night out and look perfect.
STYLE 2: Lower Messy Updo
Go in with some spray conditioner because this is necessary for this hairstyle since we are going to separate the hair, and we don’t want to snag our hair.
This hairstyle has two different parts. Clip out the first front section of your hair on top of your head. After you’re done with that, move back to the back section—that’s what we’ll be working on first. Now, take a silk scrunchie that matches your hair color and make a loose-ish bun at the back of your head, and create a hole just above it. Loop the bun through forward towards your head, and then start pulling it out at the bottom and just tucking the remaining hair. If you feel it’s not holding enough, use bobby pins to hold it together.
Now we start with the front section and create a neat middle part, and you can use a strong gel hold just to tame flyaways. After doing that, use your hair band to create a messy bun on each side of the hair (right and left). Then, grab bobby pins to put it together with the lower bun at the back and make sure it stays perfect and messy—because that’s what we want. And there you have your elegant messy bun look.

